


Table of Contents
- Introduction
- Why Choose Aluminium Trays for Seed Starting?
- Preparing Aluminium Trays for Gardening
- 3.1 Cleaning and Sterilizing Used Trays
- 3.2 Creating Drainage and Customizing Trays
- Soil Selection and Filling Techniques
- 4.1 Choosing the Best Potting Mix
- 4.2 Filling and Leveling the Trays
- Sowing Seeds in Aluminium Trays
- 5.1 Depth and Spacing Guidelines
- 5.2 Labeling and Tracking Seedlings
- Caring for Seedlings in Aluminium Trays
- 6.1 Watering, Light, and Temperature
- 6.2 Preventing Mold and Disease
- 6.3 Thinning and Transplanting
- Environmental and Practical Benefits
- 7.1 Eco-Friendliness and Upcycling
- 7.2 Comparing to Other Seed Starting Methods
- Troubleshooting and Expert Tips
- Conclusion and Next Steps
- Related Articles
- References
Introduction
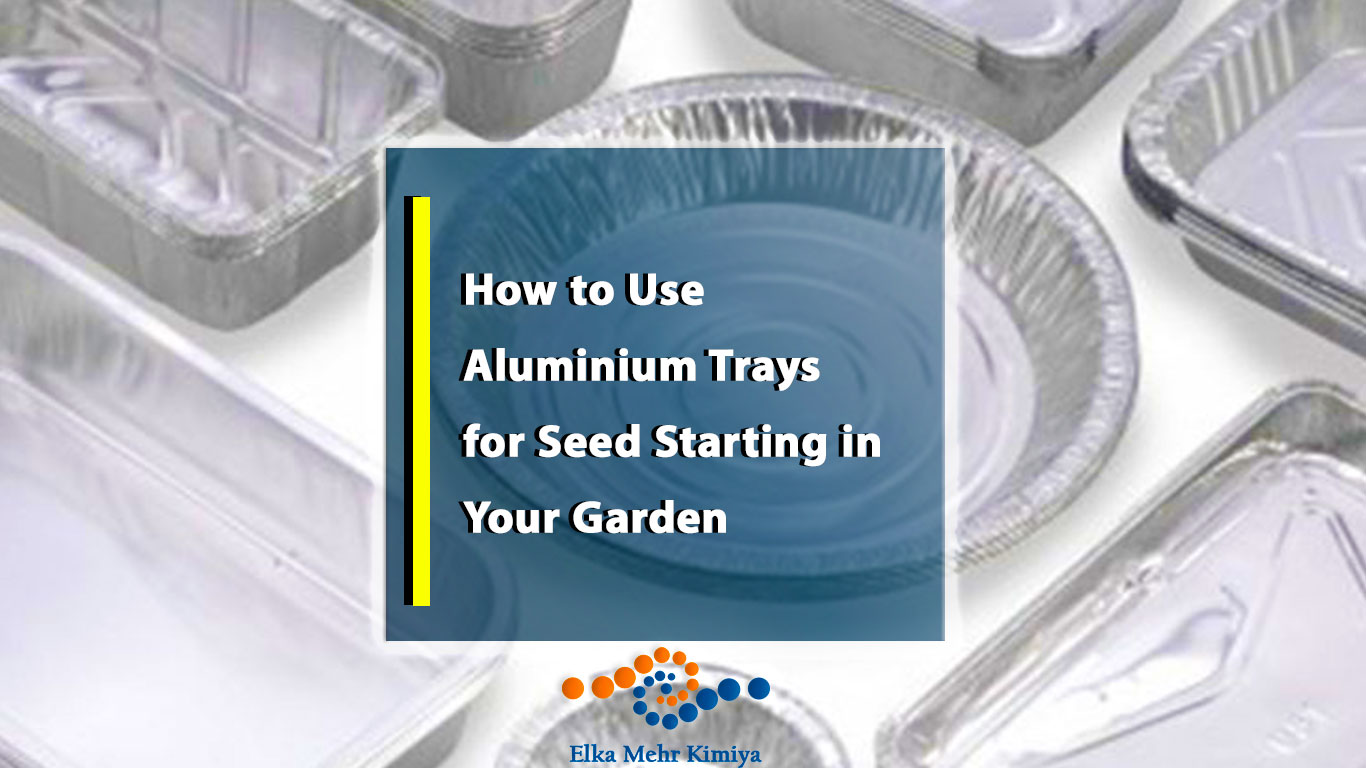
Starting seeds at home is one of the most rewarding ways to kick off a successful gardening season, giving you greater control over plant health, timing, and variety. While garden centers sell countless seed-starting kits, there’s an eco-friendly and cost-effective alternative sitting right in your kitchen: leftover Aluminium trays. By repurposing these versatile containers, you can create a seed starting system that rivals commercial products for a fraction of the price. This article will guide you step-by-step on how to use Aluminium trays for seed starting in your garden, offering practical advice, scientific context, and plenty of real-world examples for home gardeners at any experience level.
Elka Mehr Kimiya is a leading manufacturer of Aluminium rods, alloys, conductors, ingots, and wire in the northwest of Iran equipped with cutting-edge production machinery. Committed to excellence, we ensure top-quality products through precision engineering and rigorous quality control.
Why Choose Aluminium Trays for Seed Starting?
Aluminium trays—commonly used for takeout, baking, and food storage—offer a surprisingly long list of benefits for gardeners. Their lightweight, rust-resistant, and malleable design makes them ideal seed-starting containers, whether you’re working with small windowsill setups or large greenhouse benches. Unlike plastic trays, Aluminium does not degrade under sunlight or leach chemicals into your soil¹. With a little preparation, these trays can be reused for several seasons.
Table 1: Properties of Aluminium Trays vs. Common Seed Starting Containers (Data as of May 2025)¹,²
| Property | Aluminium Trays | Plastic Trays | Peat Pots |
|---|---|---|---|
| Reusability | High (washable, durable) | Medium (prone to cracking) | Single use |
| Drainage Creation | Easy (can poke holes) | Built-in or modifiable | Built-in |
| Chemical Leaching | None | Possible with heat/sun | None |
| Cost | Low (often reused) | Moderate to high | Moderate |
| Recycling Potential | 100% recyclable | Varies by type | Compostable |
Aluminium trays also reflect light, which can support even seedling growth when placed under grow lights or on sunny windowsills.
Preparing Aluminium Trays for Gardening
Before you start planting, preparing your Aluminium trays correctly is crucial for healthy seedlings and maximum reusability.
3.1 Cleaning and Sterilizing Used Trays
Most Aluminium trays are safe for reuse, but thorough cleaning is essential to remove food residue and pathogens.
Steps:
- Wash trays in hot, soapy water; scrub away any grease or debris.
- Rinse thoroughly and soak in a solution of one part household bleach to nine parts water for 10 minutes to sterilize.
- Rinse again and allow trays to dry completely before use.
Tip:
Never reuse trays that are badly corroded, have sharp edges, or were used for highly acidic or salty foods.
3.2 Creating Drainage and Customizing Trays
Seeds need well-drained soil to prevent root rot. Aluminium trays can easily be modified with simple tools.
How to Add Drainage:
- Use a hammer and nail, screwdriver, or even a fork to poke several holes in the bottom of the tray, spaced about 3–5 cm apart.
- For deeper trays, add extra holes to ensure uniform drainage.
Customization:
Trays can be divided into sections with strips of Aluminium or cardboard, or paired with clear plastic lids (from produce containers) to create mini-greenhouses.
Soil Selection and Filling Techniques
4.1 Choosing the Best Potting Mix
The right soil mix is vital for strong, healthy seedlings. Choose a sterile, lightweight seed-starting mix that holds moisture but drains well.
Recommended Mix:
- Two parts peat moss or coconut coir
- One part perlite or vermiculite
- Optional: a small amount of compost for nutrition
Avoid:
Heavy garden soil, which may compact in trays and stunt roots.
4.2 Filling and Leveling the Trays
Evenly distribute moistened seed starting mix into the prepared Aluminium tray. Aim for a depth of 4–6 cm to allow roots to develop fully.
- Gently tamp the mix with your fingers or a small board to eliminate air pockets.
- Leave a 1 cm gap between the soil and the tray rim to prevent spills when watering.
Table 2: Recommended Soil Depths for Common Seedlings (Data as of May 2025)²,³
| Plant Type | Minimum Depth (cm) | Notes |
|---|---|---|
| Leafy greens | 3–4 | Spinach, lettuce, kale |
| Tomatoes/peppers | 5–7 | Support deep root growth |
| Herbs | 3–5 | Basil, parsley, cilantro |
| Root crops* | 7+ | Radishes, beets (start then transplant) |
Sowing Seeds in Aluminium Trays
5.1 Depth and Spacing Guidelines
Seeds should be sown according to packet instructions, but a general rule is to plant at a depth of twice the seed’s width.
- Use a finger, pencil, or dowel to create shallow rows or holes.
- Space seeds appropriately—crowding leads to weak seedlings.
Example:
For basil, scatter seeds thinly; for tomatoes, space seeds 2–3 cm apart.
5.2 Labeling and Tracking Seedlings
Always label your Aluminium trays to keep track of varieties and sowing dates. Waterproof markers, plastic plant tags, or even popsicle sticks work well.
- Consider mapping rows if starting multiple types in one tray.
- Note expected germination times for planning transplants.
Real-World Example:
A home gardener labels each tray with plant type, sowing date, and expected germination window, ensuring a smooth planting schedule.
Caring for Seedlings in Aluminium Trays
6.1 Watering, Light, and Temperature
Consistent care is the secret to robust seedlings.
Watering:
- Keep soil moist but not soggy; water from the bottom by placing the tray in a shallow basin or carefully mist from above.
- Aluminium conducts temperature well—monitor closely to avoid overheating or rapid drying near sunny windows.
Light:
- Place trays on a sunny windowsill or under grow lights for 12–16 hours per day.
- Rotate trays daily to ensure even growth.
Temperature:
- Most seeds germinate best at 18–24°C; adjust placement as needed.
6.2 Preventing Mold and Disease
Aluminium trays are easy to clean, but damping-off (fungal disease) can still be a risk.
- Ensure excellent drainage and avoid overwatering.
- Provide airflow by spacing trays or using a small fan.
- Remove plastic lids or covers once seedlings emerge to reduce humidity.
6.3 Thinning and Transplanting
Once seedlings have two “true” leaves, thin them to prevent overcrowding.
How-To:
- Use scissors to snip weaker seedlings at the soil line, preserving roots of the strongest plants.
- Transplant seedlings outdoors or to larger pots when roots fill the tray and after hardening off.
Table 3: Common Problems and Solutions for Seed Starting in Aluminium Trays (Data as of May 2025)³,⁴
| Problem | Likely Cause | Solution |
|---|---|---|
| Mold/damping-off | Excess moisture, low airflow | Improve drainage, increase airflow |
| Leggy seedlings | Insufficient light | Move to brighter spot, add lights |
| Yellowing leaves | Overwatering, poor drainage | Check holes, water less |
| Roots circling tray | Delayed transplanting | Move to bigger pots promptly |
Environmental and Practical Benefits
7.1 Eco-Friendliness and Upcycling
Using Aluminium trays for seed starting keeps them out of the landfill, reduces demand for new plastic, and teaches resourceful habits. Aluminium is infinitely recyclable, but reusing first is even better for the environment⁴.
Fun Fact:
Each reused tray saves the energy needed to produce a new one, which for Aluminium is up to 95% less than creating from raw ore⁴.
7.2 Comparing to Other Seed Starting Methods
Aluminium trays compare favorably to commercial seed flats and peat pots in cost, durability, and sustainability.
- Unlike plastic, they won’t warp or leach chemicals.
- Unlike peat, they don’t deplete natural bogs or break down after one use.
- They’re easy to clean, store, and customize for any gardening project.
Troubleshooting and Expert Tips
Common Tips:
- For bottom watering, set your Aluminium tray inside a larger, solid tray without holes.
- Cover with clear plastic domes (repurposed food lids) until seeds germinate for a mini greenhouse effect.
- Clean and store trays after each season for reuse next year.
- For outdoor starts, use Aluminium trays to “harden off” seedlings by gradually exposing them to sun and wind.
Expert Advice:
If you notice mineral salt buildup (white crust on soil), flush the soil with water or replace the top layer with fresh mix.
Conclusion and Next Steps
Repurposing Aluminium trays for seed starting is a practical, sustainable way to begin your garden. With proper cleaning, drainage, and care, these humble containers become the backbone of a healthy, thriving garden from the very first sprout. As you gain experience, experiment with different crops, tray shapes, and soil mixes to suit your climate and goals. Every reused tray not only grows new plants, but also cultivates a greener, more resourceful lifestyle—one seed at a time.
Related Articles
- DIY Crafts Using Leftover Aluminium Food Containers
- 12 Smart Ways to Reuse Disposable Aluminium Trays at Home
- How to Dispose of Aluminium Trays the Eco-Friendly Way
References
- Royal Horticultural Society. “Seed Sowing Indoors.” https://www.rhs.org.uk/soil-composts-mulches/seed-sowing-indoors
- University of California Agriculture. “Starting Vegetable Seeds Indoors.” https://anrcatalog.ucanr.edu/pdf/8050.pdf
- Fine Gardening. “10 Seed-Starting Tips.” https://www.finegardening.com/article/10-seed-starting-tips
- U.S. EPA. “Recycling Basics.” https://www.epa.gov/recycle/recycling-basics


No comment